How to Delete a Table in Excel but Not the Data
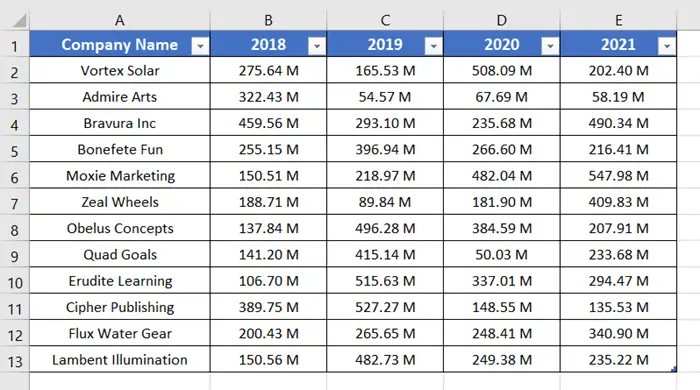
Sometimes we need to remove an Excel Table but keep the data in place. Excel Tables help us do some interesting tasks. But they also interrupt us while doing a specific task. For example, you can’t populate multiple sheets if any of the sheets has an Excel Table. However, we need to convert the Excel tables to a normal range very often. So, here I’m going to show you how to delete a table in Excel but not the data.
Use Convert to Range Command to Delete a Table in Excel but Not the Data
Microsoft Excel has a dedicated command that can convert an Excel Table back to a normal range. The command is called the Convert to Range.
To use the command, follow these steps below:
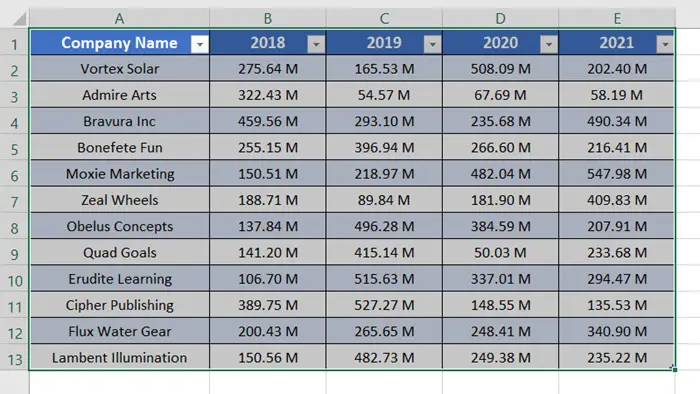
- Select the entire table first.
To select the entire table fast, click on any cell and then press CTRL + A. It will automatically select the whole table.
 When you select the entire table, the Table Design tab appears in the main ribbon.
 - In the Tools group, find the Convert to Range command. Then click on it.
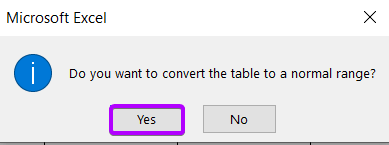
 As you click on the Convert to Range command, a little dialog box appears.
 - If you are sure that you want to convert the table to a normal range, select Yes to proceed.
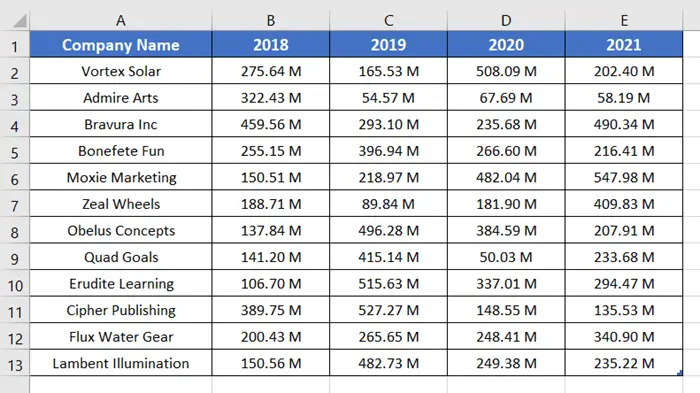
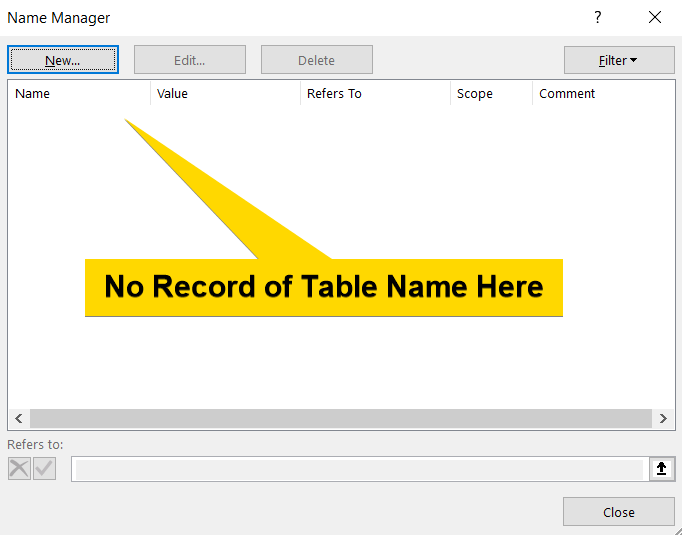
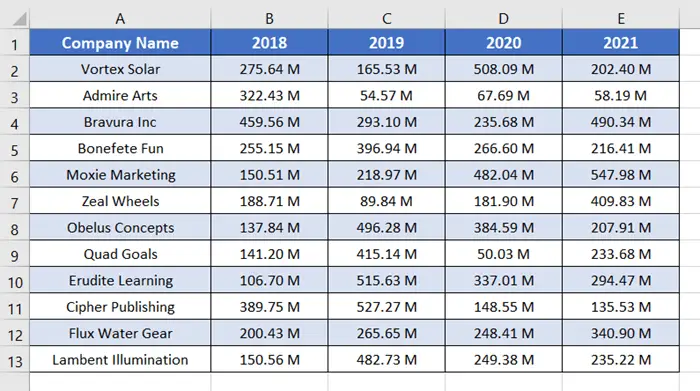
 Now, you will see a normal range instead of the table. The table also no longer exists in the Name Manager.
 However, if you really want to check whether the table has been removed from the Name Manager or not,
 - Go to Formula tab > Defined Names group.
- Then click on the Name Manager command.

The Name Manager dialog box will open. There you will see that there’s no record of your table. This means Excel has deleted your Excel Table but not the data.
Delete a Table in Excel but Not the Data in a Wrong Way
There’s another way to delete an Excel Table but not the data. This just removes the table styles. It actually doesn’t delete an Excel Table from the Name Manager. So, the Tables will interrupt you further.
Let me show you the wrong way to delete an Excel Table but not the data so that you don’t use this method. If you select the entire table, the Table Design tab will appear on the main ribbon. Now, follow these steps below:
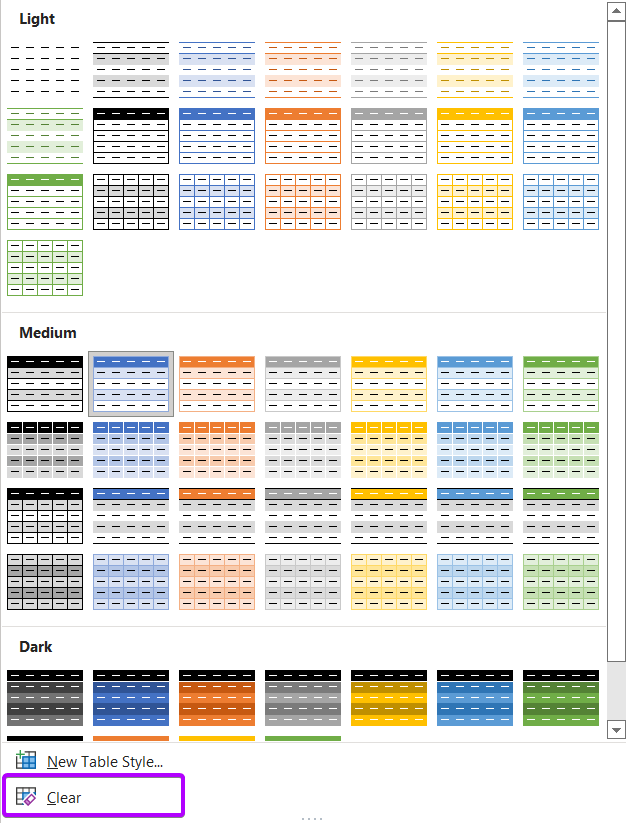
- In the Table Styles group, click on the Table Styles dialog box launcher icon.

- At the bottom of the pop-up dialog box, you will find the Clear command.
If you click on this command, it will remove all the table styles from your table instantly.
 Here just look at the effect of using the Clear command. It removed all the table styles but kept the data and the AutoFilter icons.
 To remove the AutoFilter icon from the column headers,
 - Go to the Data tab > Sort & Filter group.
- Now click on the Filter command in the Sort & Filter group.
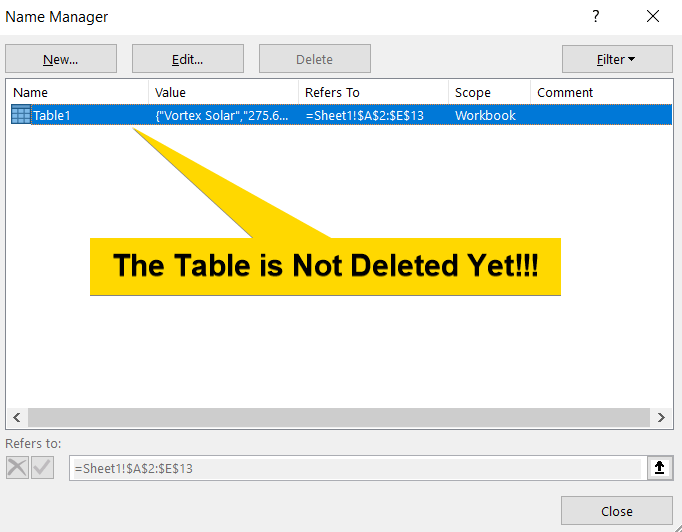
 Now, look at the datasheet. The table styles, table formats, AutoFilter everything is removed. It looks like the actual table has been deleted but the data is in place. If you are thinking so, then you are wrong. If you check the Name Manager, you will still find the record of your table out there. Let me show you.

- To open the Name Manager dialog box, select the Formulas tab > Defined Names group > Name Manager command.

- Now check out the Name Manager.
The table name along with its corresponding range is still on the Name Manager. This means the table is not deleted. So, this invisible table will again make you depressed.
Let me show you one of its consequences.
Suppose, you want to convert the previous range again into an Excel Table. For this purpose, when you go to the Insert tab, under the Tables group you will find the Table command is grayed out. This means you can’t convert the selected range into a table.
As your current table doesn’t have the table styles, AutoFilter, etc. you can’t have the benefits of the Excel Tables now.

To avoid this kind of problem, it’s better to use the Convert_To_Range command to delete an Excel Table but not the data.
4 Ways to Delete a Table in Excel Permanently
Conclusion
Here, I have discussed how to delete a table in Excel but not the data. I also discussed the wrong way to delete an Excel Table without keeping the data in place. I hope you’ve found this article useful. You can read more articles relating to Excel from the Blog page of our website. Have a fantastic workday!
Frequently Asked Questions
What is the shortcut key to Delete a table in Excel?
In Excel, the shortcut key to delete a table and convert it back to a range is: ALT + J > L > R
Simply press “ALT,” followed by “J,” “L,” and finally “R” in sequence. This will initiate the process of deleting the table and converting it back to a regular range in Excel.
How do I remove a table name in Excel?
To remove a table name in Excel, follow these steps:
- Go to the Formulas tab.
- Click on Name Manager in the Defined Names group.
- In the Name Manager dialog box, select the table name you want to remove.
- Click on Delete.
By following these steps, you can easily remove a table name in Excel using the Name Manager.
How do I remove a table from a table format?
To remove a table format in Excel and convert it back to a standard range, follow these steps:
- Click anywhere inside the table you want to modify.
- Go to the Table Design tab that appears when the table is selected.
- Click on the Convert to Range option.
By performing these steps, you can effectively remove the table format and revert it to a regular range in Excel while preserving the underlying data.


 Here just look at the effect of using the Clear