How to Remove Page 1 Watermark in Excel [4 Methods]
Changing the Workbook View to Remove Page 1 Watermark in Excel
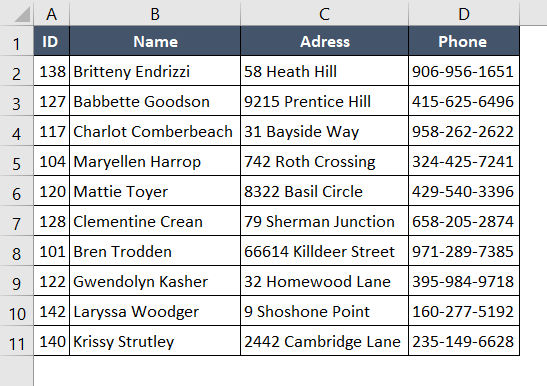
Changing the view of the current Datasheet is the easiest method to remove the Watermark in Excel. When a Watermark is added to an Excel sheet, it is displayed as Page Layout View in the Excel sheet. We can change it to a normal view to remove the Watermark. The dataset is given below.

To remove the page 1 watermark by changing the workbook view:
- Go to the View tab. Here you see that the view of the sheet is already set as Page Layout View. The Page Layout View shows more customized features in Excel.

- Then select the Normal View and Click it. The Normal View shows the general format of the Excel sheet.

After applying Normal View we see that the Page 1 Watermark is removed from the sheet.
Delete the Background to Remove Page 1 Watermark in Excel
If the Page 1 Watermark is saved as the background of the Excel sheet it can be easily deleted from the sheet using the Delete Background option. The dataset of this type of problem is given below.
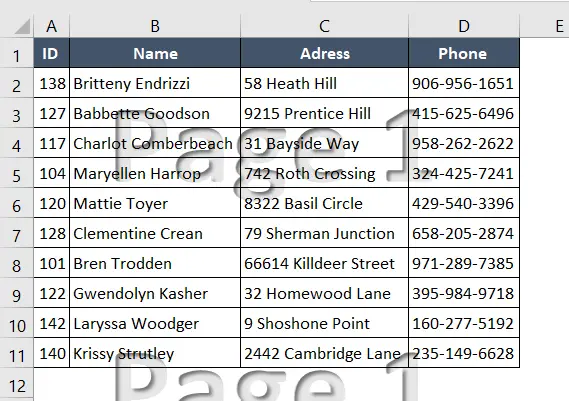
Follow the steps below to remove the page 1 watermark in Excel by deleting the background:
- Go to the Page Layout tab.
- Now select the Delete Background button and Click it.

After deleting the background, we see that the watermark is also removed.
Utilizing Page Header Option to Remove Page 1 Watermark in Excel
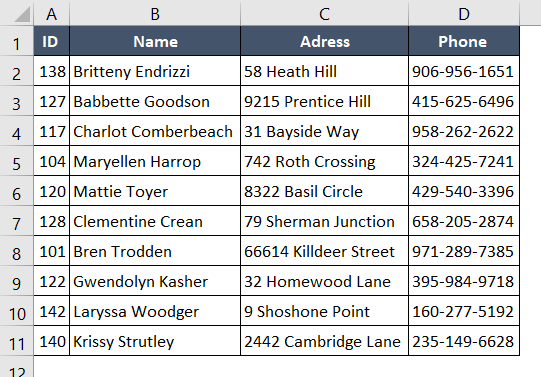
In our current Excel sheet, we used the page header option to create a Page 1 Watermark. If we modify the Page Header option we can easily remove Page 1 Watermark.
To remove page 1 watermark in Excel, you can also utilize the page header option. Here’s how:
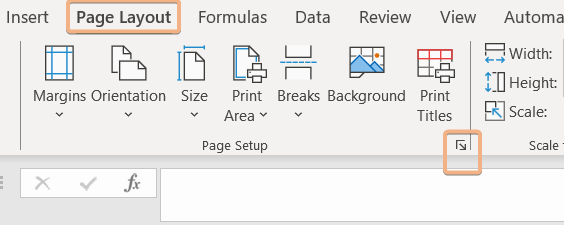
- Go to the Page Layout option.
- Then click the Page Setup shown in the image below.

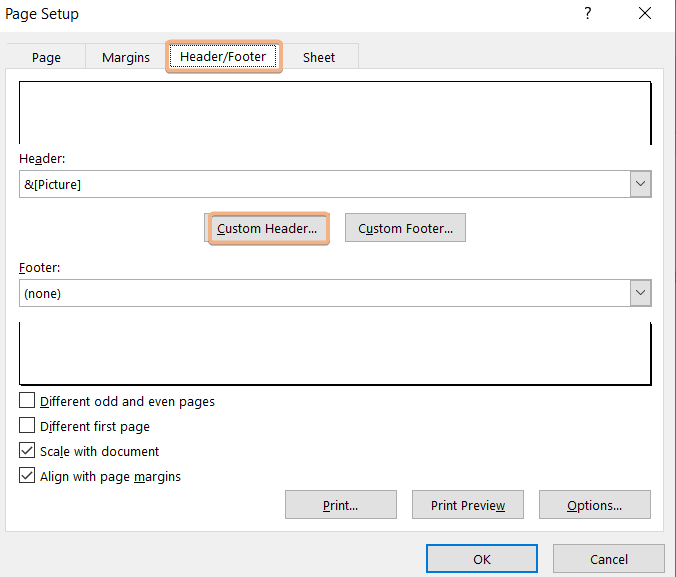
- A new Dialogue box will be opened and then go to the Header/Footer option.
- Click the Custom Header button.

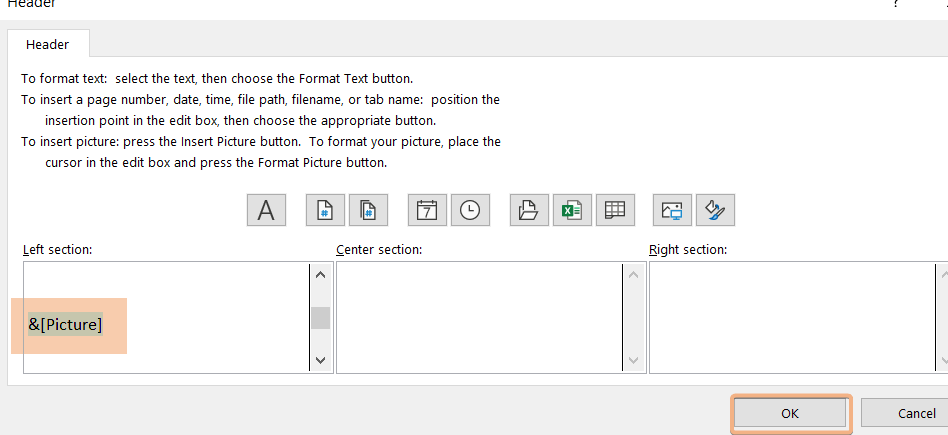
- After that a new dialogue box will be opened and from there delete the selected text.
- Click OK.

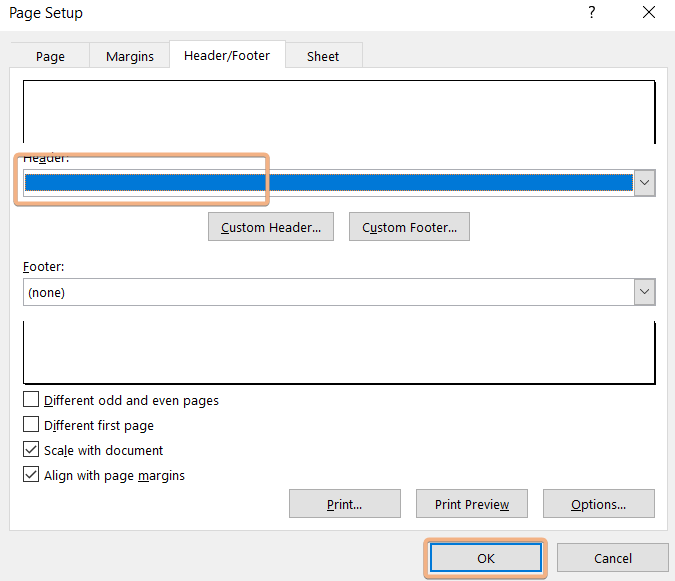
- Here it will bring you to the previous dialogue box and here you see that the text option has disappeared and then click OK.

By removing the header and footer options we can easily remove Page 1 Watermark from Excel.
Delete Wordart to Remove Wordart Type Page 1 Watermark in Excel
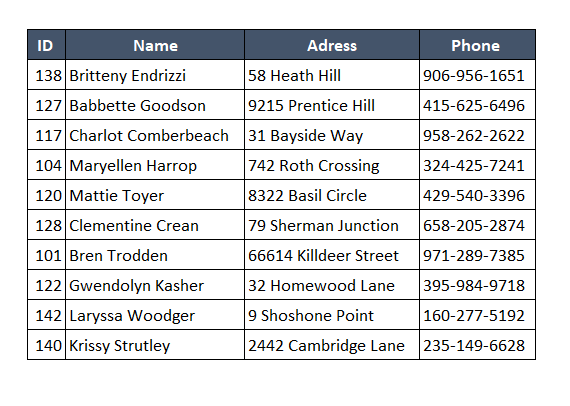
Sometimes we used Wordart to type Page 1 Watermark in our Excel sheet. We can also easily remove this type of watermark. The dataset is given below.
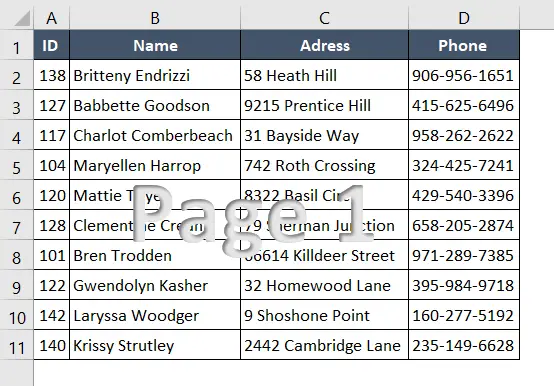
Follow the steps to delete Wordart to remove the page 1 watermark in Excel:
- Move the mouse cursor over the watermark and then left-click the mouse. It will select the text.
- Then move the mouse to the border of the text box and press the Delete Button on your keyboard. It will delete the whole text box.
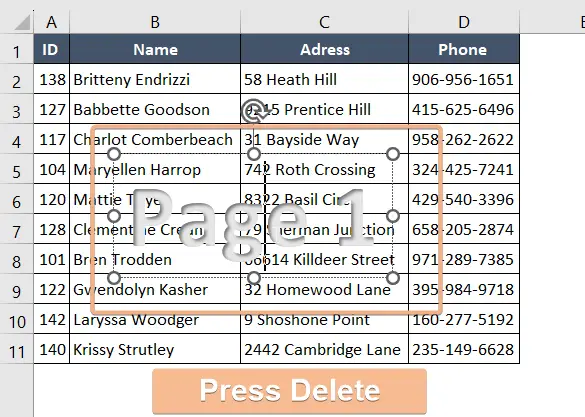
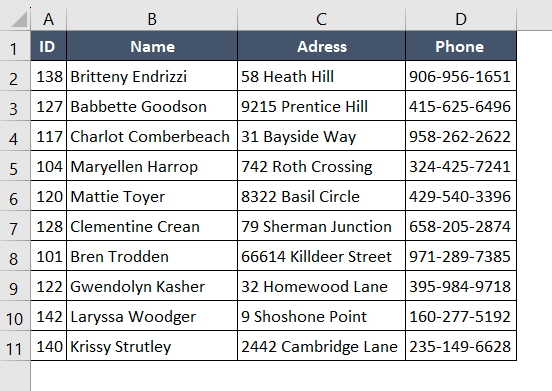
By deleting the watermark textbox we can also remove page 1 watermark from the sheet.
Conclusion
In this tutorial, I’ve tried to show how to remove Page 1 Watermark from the Microsoft Excel workbooks. By applying these methods one can easily remove watermarks from Excel workbooks.
Frequently Asked Questions
How do I remove page numbers in Excel?
To remove page numbers in Excel:
- Go to the “Page Layout” tab.
- Click the small arrow in the “Page Setup” group.
- In the Page Setup dialog box, go to the “Header/Footer” tab.
- Delete the &[Page] code or similar from the Header or Footer box.
- Click “OK” to apply the changes and remove the page numbers.
How do I remove page 1 break in Excel?
To remove a page break in Excel:
- Go to the “View” tab.
- Click on “Page Break Preview.”
- Identify the page break.
- To remove, click on the row or column below or to the right of the break line.
- Right-click and choose “Remove Page Break.”
How do I fix one page in Excel?
To fix one page in Excel:
- Go to the “Page Layout” tab.
- Click on the small arrow in the “Page Setup” group.
- In the Page Setup dialog box, go to the “Sheet” tab.
- Under “Print titles,” specify rows or columns to repeat on each printed page.
- Click “OK” to apply the changes.
Why is there a big page 1 watermark in Excel?
The “Page 1” watermark in Excel appears when the “Print Titles” feature is activated, indicating that specific rows or columns have been designated to repeat on each printed page. To remove the watermark:
- Go to the “Page Layout” tab.
- Click on the small arrow in the “Page Setup” group.
- In the Page Setup dialog box, go to the “Sheet” tab.
- Under “Print titles,” clear the “Rows to repeat at top” or “Columns to repeat at left” fields.
- Click “OK” to apply the changes.


